Prototyping a Job Board website in under 15 min
The goal of this article is to demonstrate how quickly you can build real-world apps using Enferno Framework, we will be utilizing some of the great features like the built-in Vue integration, automatic assets bundling, and Flask's powerful simplicity.
Step 1. Setting up the framework
Installing the framework is really simple, explained in detail in this previous article: Getting started with Enferno Framework
After installing the framework, and while in the root directory, run
npm install this will install our front-end toolkit and then run:
npm run watchthis command will let Parcel Bundler watch our enfenro/src directory and build our frontend code into the enferno/static/dist directory.
For more details on this you could refer to this previous article
Step 2. Installing tailwind
Tailwind is a utility-first CSS framework for rapidly building custom designs, we will be leveraging the power of this css framework alongside with Vue's single file components to build our website blocks, really quickly.
install tailwind by running:
npm i tailwindcssthen open the file enferno/src/index.js which is the entry point of our app, and add the following line at the top:
import 'tailwindcss/dist/tailwind.min.css';
That's it, see how easy it is to include npm libraries into your app?
Step 3. Building our website sections
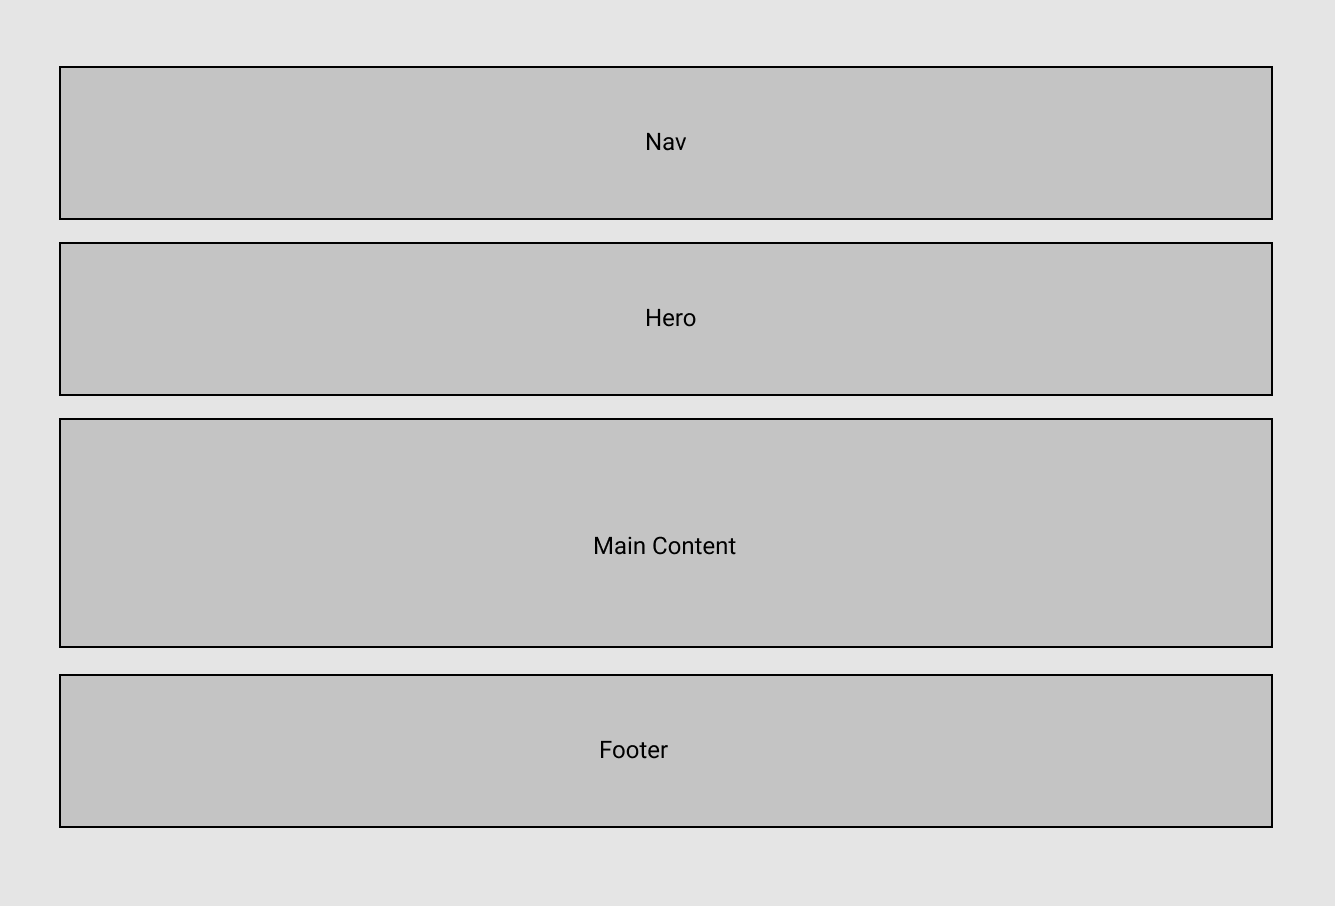
will will be building the following standard sections:

Each section will be built as a Vue single file component (Vue file), which you can think of as an encapsulated (HTML+JS+CSS).
One cool thing about building those sections as components, is that it's so easy to reuse them later or even copy paste them again in any other projects.
open the enferno/src/components directory, and remove the Welcome.vue file that ships initially as a placeholder component, then create four files with the .vue extension and name them as per below:
.
├── Footer.vue
├── Hero.vue
├── Jobs.vue
└── Nav.vue
Now lets mount those sections onto our app, open the enferno/src/app.vue file and replace the contents with the following:
<template>
    <div id="app">
        <Nav></Nav>
        <Hero></Hero>
        <Jobs></Jobs>
        <Footer></Footer>
    </div>
</template>

<script>
    import Nav from './components/Nav'
    import Jobs from './components/Jobs';
    import Hero from './components/Hero';
    import Footer from './components/Footer'
    export default {
        name: 'app',
        data: () => ({}),
        components: {
            Nav,
            Hero,
            Jobs,
            Footer
        }
    }
</script>
This is pretty straight forward, we are simply importing our components and rendering them on the page.
At this point, if you run flask server, you will get a blank page, since we haven't actually added any markup yet, so let's go ahead and quickly build the page.
Step 3. Utilizing Tailwind Blocks for even faster prototyping
Tailwind Blocks is an excellent website that lets you copy snippets of pre-styled code blocks that work automatically with Tailwind css , let's start with a navigation block, copy any navigation snippet you like and paste it into our Nav.vue component, don't forget to wrap the code within a <template></template> tags.
Below is how my Nav.vue looks like :
<template>
    <header class="text-gray-700 body-font">
        <div class="container mx-auto flex flex-wrap p-5 flex-col md:flex-row items-center">
            <a class="flex title-font font-medium items-center text-gray-900 mb-4 md:mb-0">
                <svg xmlns="http://www.w3.org/2000/svg" fill="none" stroke="currentColor" stroke-linecap="round"
                     stroke-linejoin="round" stroke-width="2"
                     class="w-10 h-10 text-white p-2 bg-indigo-500 rounded-full" viewBox="0 0 24 24">
                    <path d="M12 2L2 7l10 5 10-5-10-5zM2 17l10 5 10-5M2 12l10 5 10-5"></path>
                </svg>
                <span class="ml-3 text-xl">tailblocks</span>
            </a>
            <nav class="md:ml-auto flex flex-wrap items-center text-base justify-center">
                <a class="mr-5 hover:text-gray-900">First Link</a>
                <a class="mr-5 hover:text-gray-900">Second Link</a>
                <a class="mr-5 hover:text-gray-900">Third Link</a>
                <a class="mr-5 hover:text-gray-900">Fourth Link</a>
            </nav>
            <button class="inline-flex items-center bg-gray-200 border-0 py-1 px-3 focus:outline-none hover:bg-gray-300 rounded text-base mt-4 md:mt-0">
                Button
                <svg fill="none" stroke="currentColor" stroke-linecap="round" stroke-linejoin="round" stroke-width="2"
                     class="w-4 h-4 ml-1" viewBox="0 0 24 24">
                    <path d="M5 12h14M12 5l7 7-7 7"></path>
                </svg>
            </button>
        </div>
    </header>
</template>
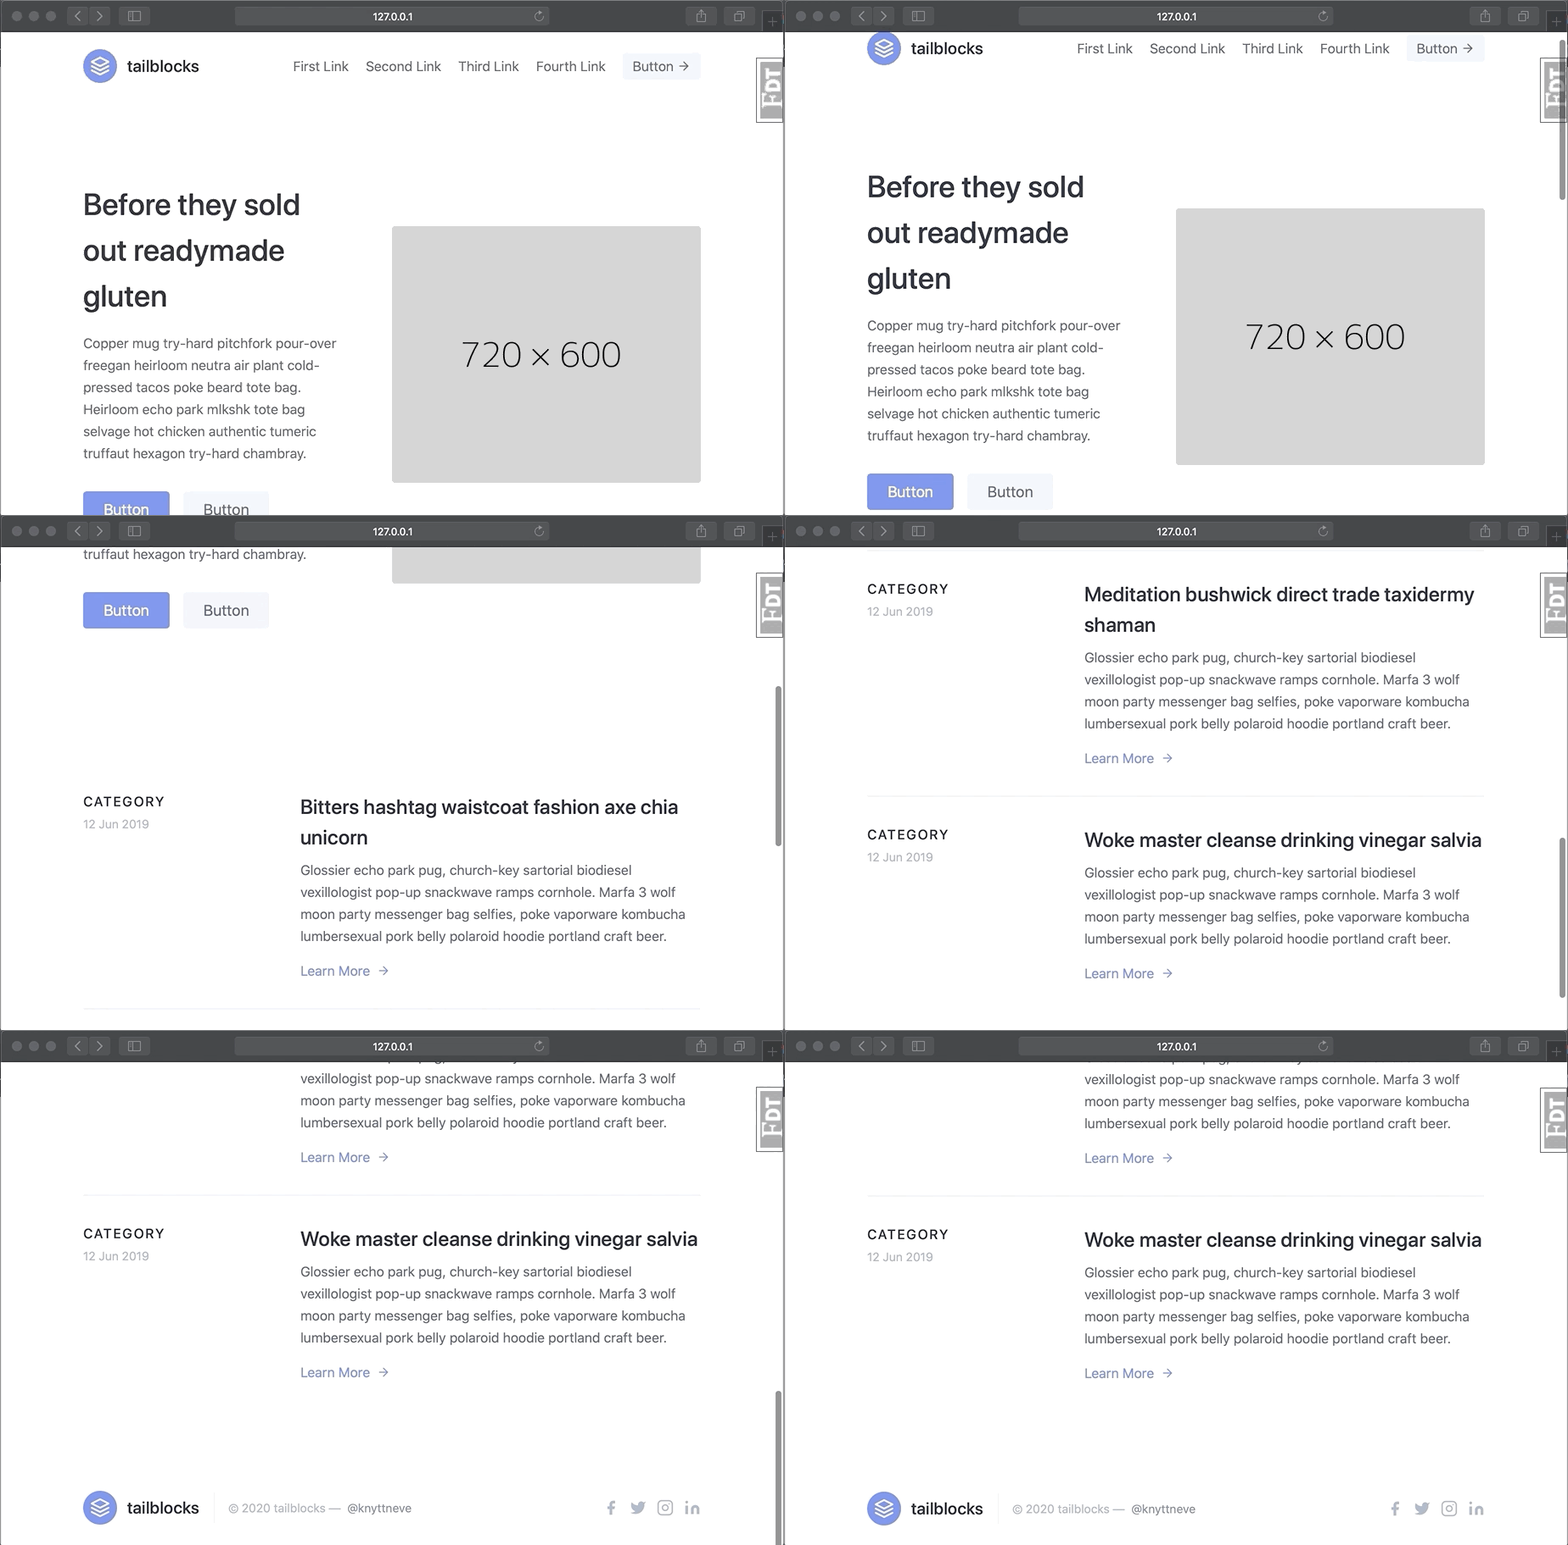
Parcel Bundler will automatically compile our component for us, at this points, run your flask server if it's not already running, and you should get the following page:

Isn't that just amazing? try resizing your page and see how the code works perfectly fine on different screen sizes, thanks to Tailwind for making responsive design so easy.
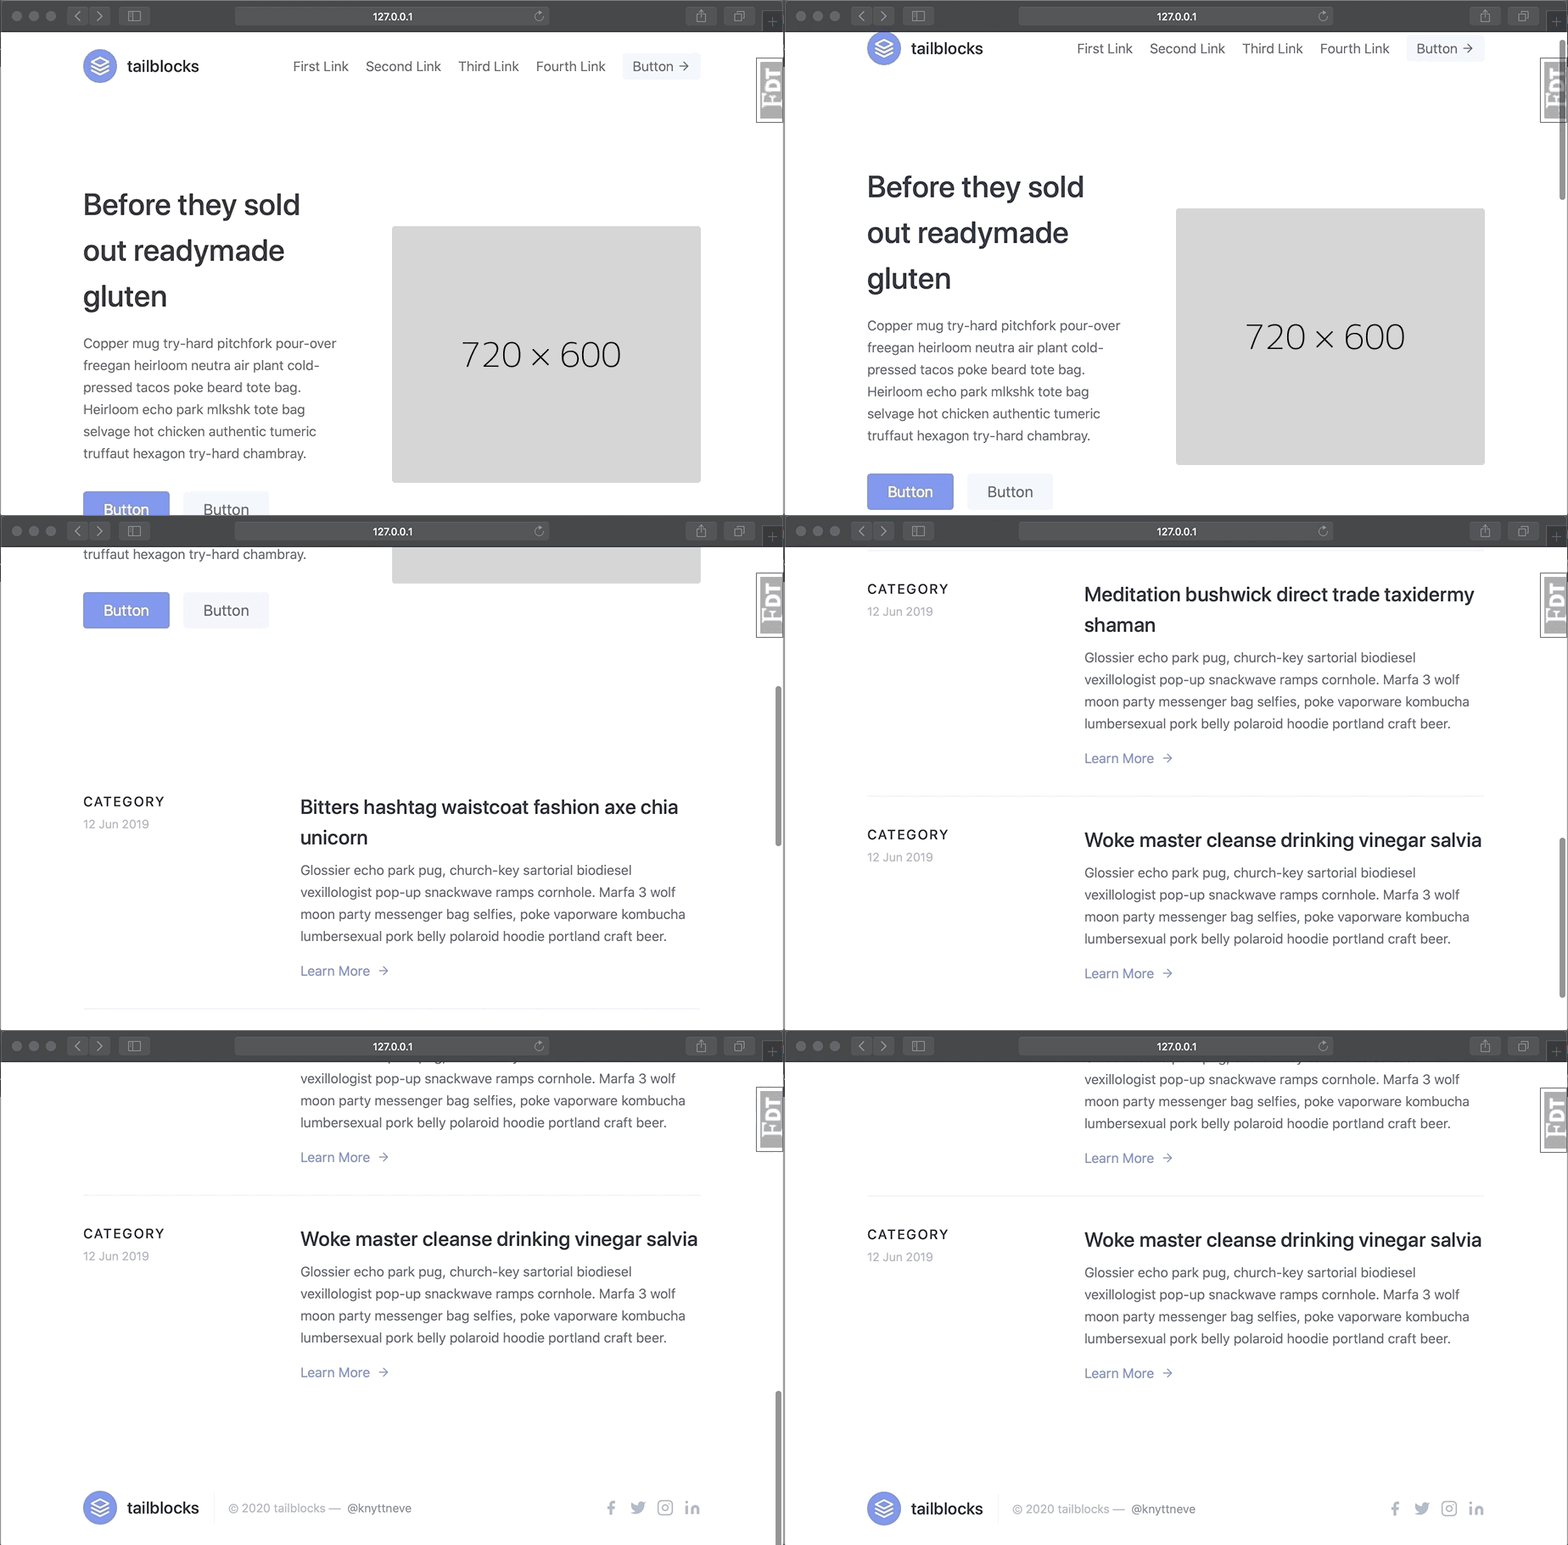
Now do the same with the remaining components (Hero, Jobs, Footer) and you should end up with a great looking website prototype.
Here is a how my website looks like:

Congrats, you have now a modern, simple and fast website prototype.
In Part 2 of this series, we will see how quickly we can wire dynamic data into this prototype and launch an actual app.

